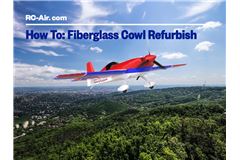
Making a scheme out of an old scheme


REFURBISHING AN OLD SCHEME
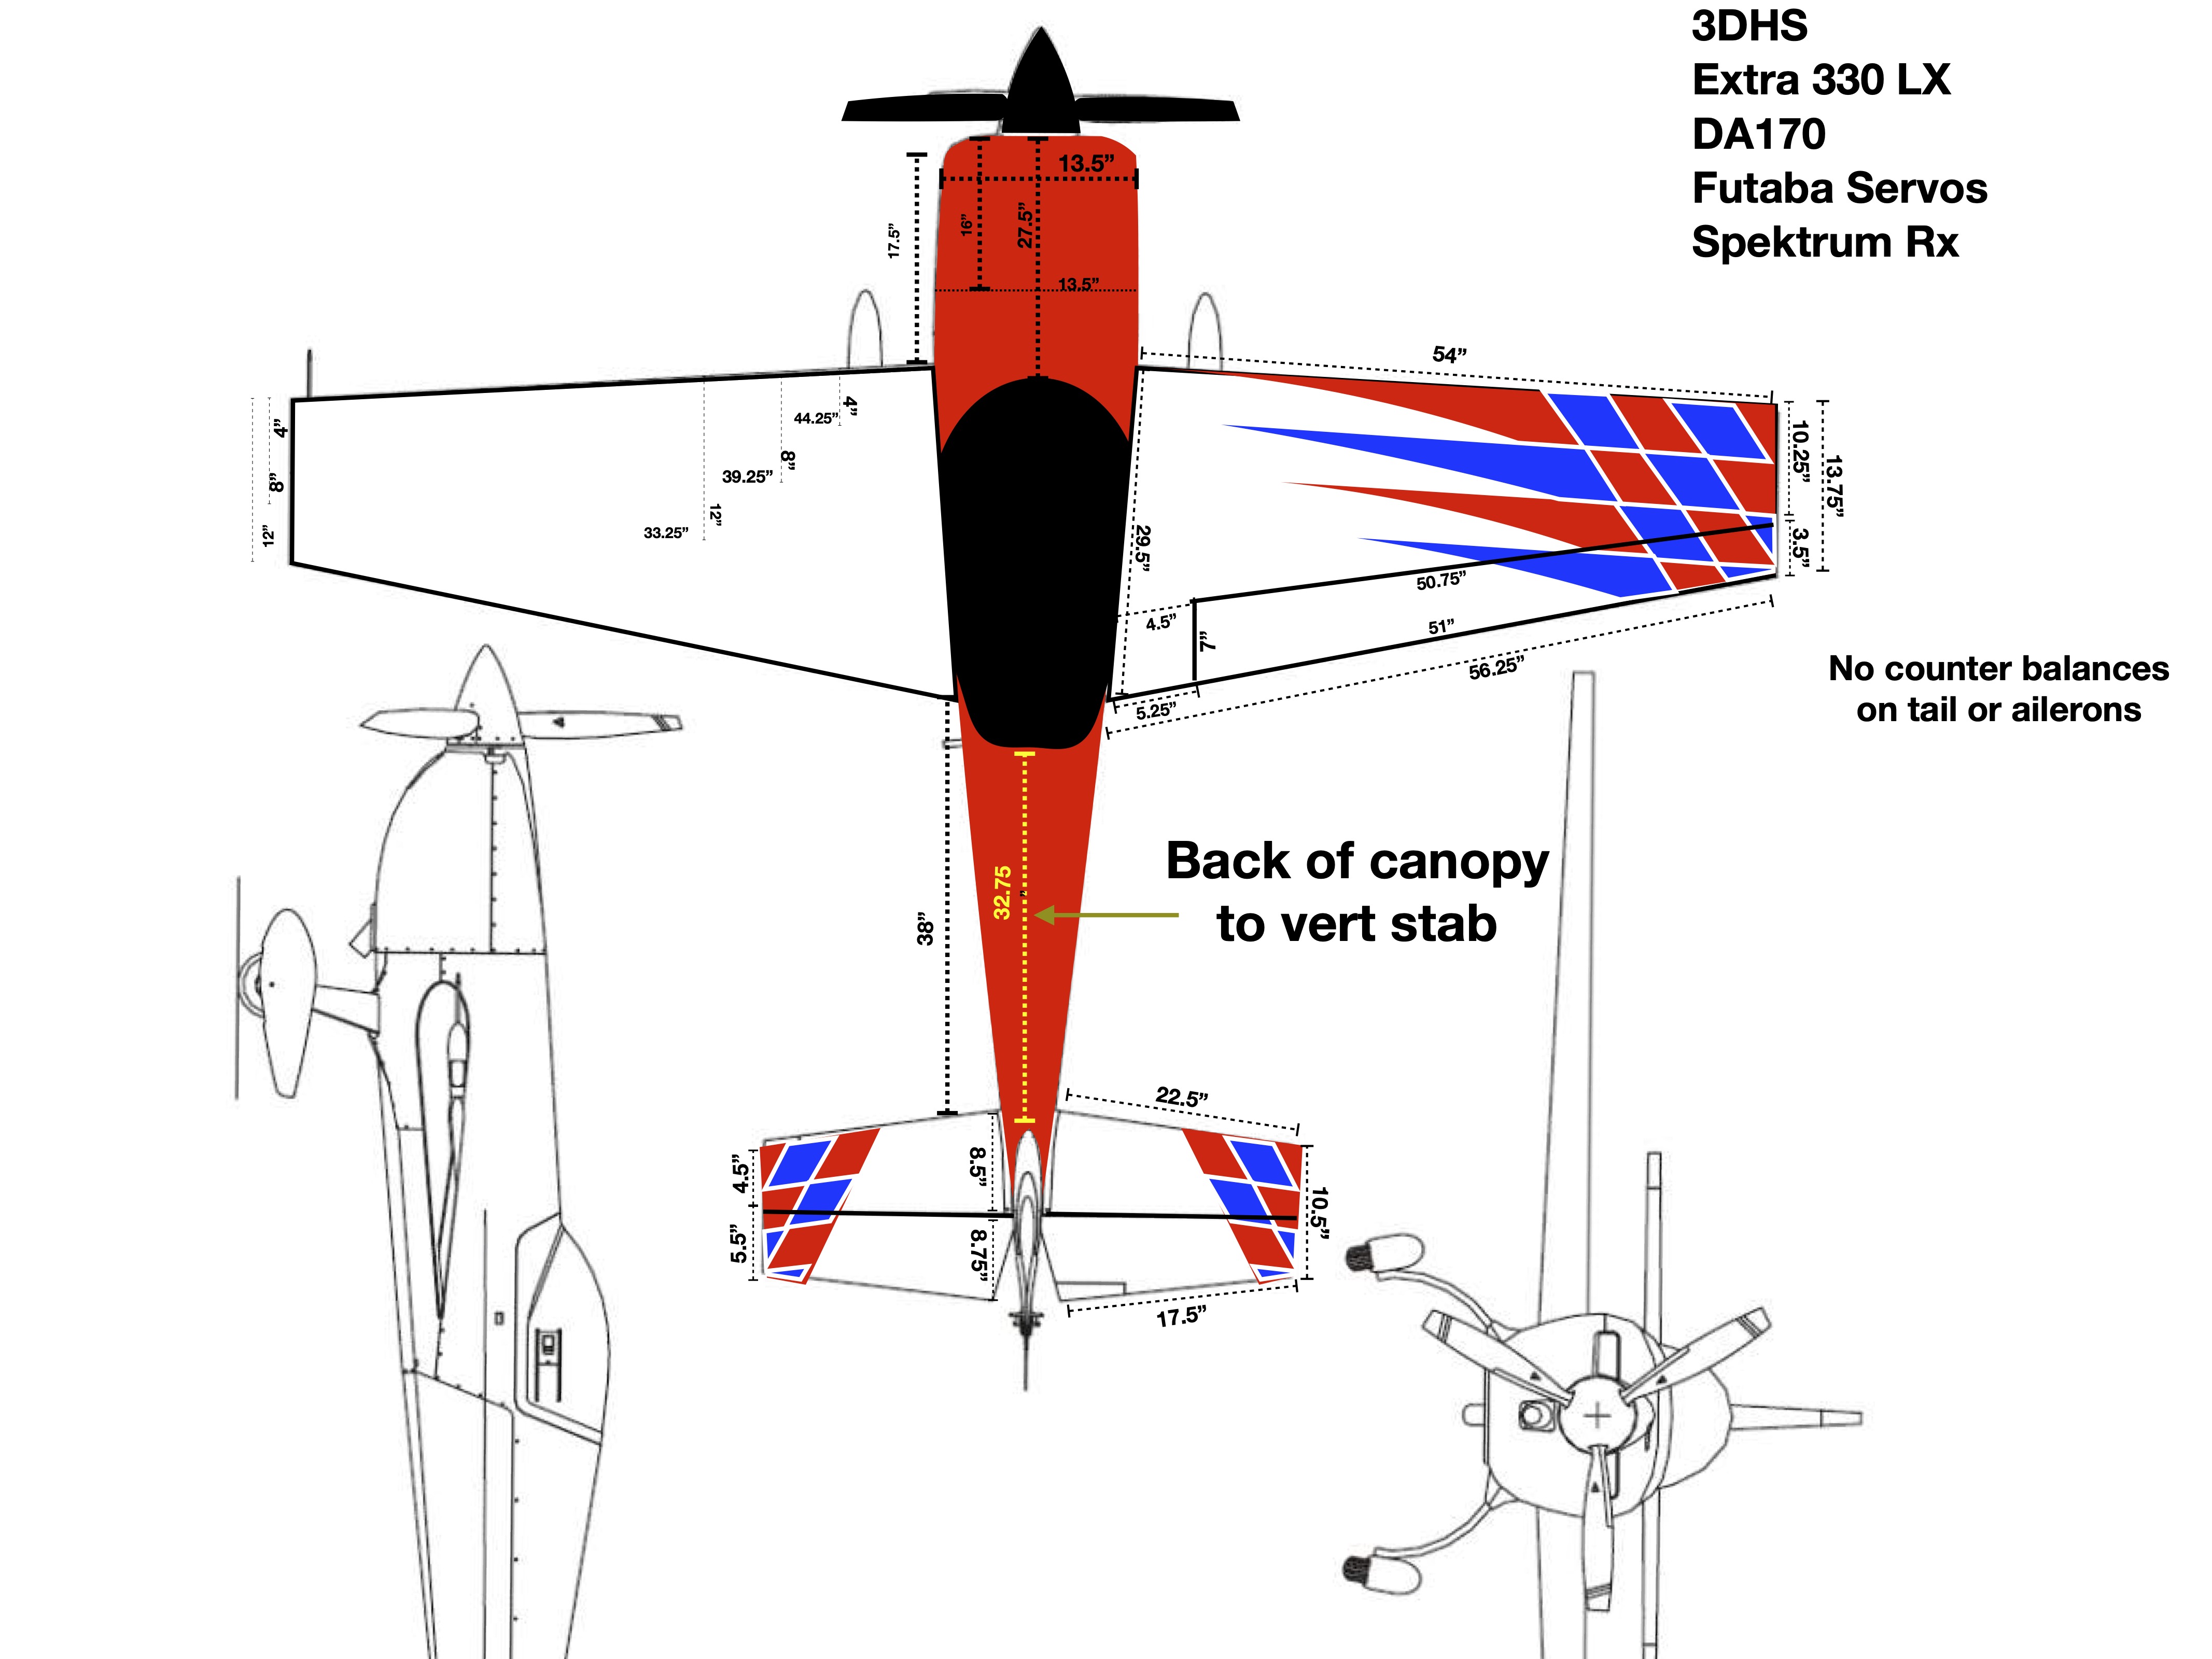
Converting the scheme on a plane to make it your own can be quite a project. Here is an example of one of my projects and some tips to make the job just a little easier. Anyone can do this type of work with a little time and some patients. These are the steps I took to get it from here:
To Here:
Assess what you can use:
THE COWL
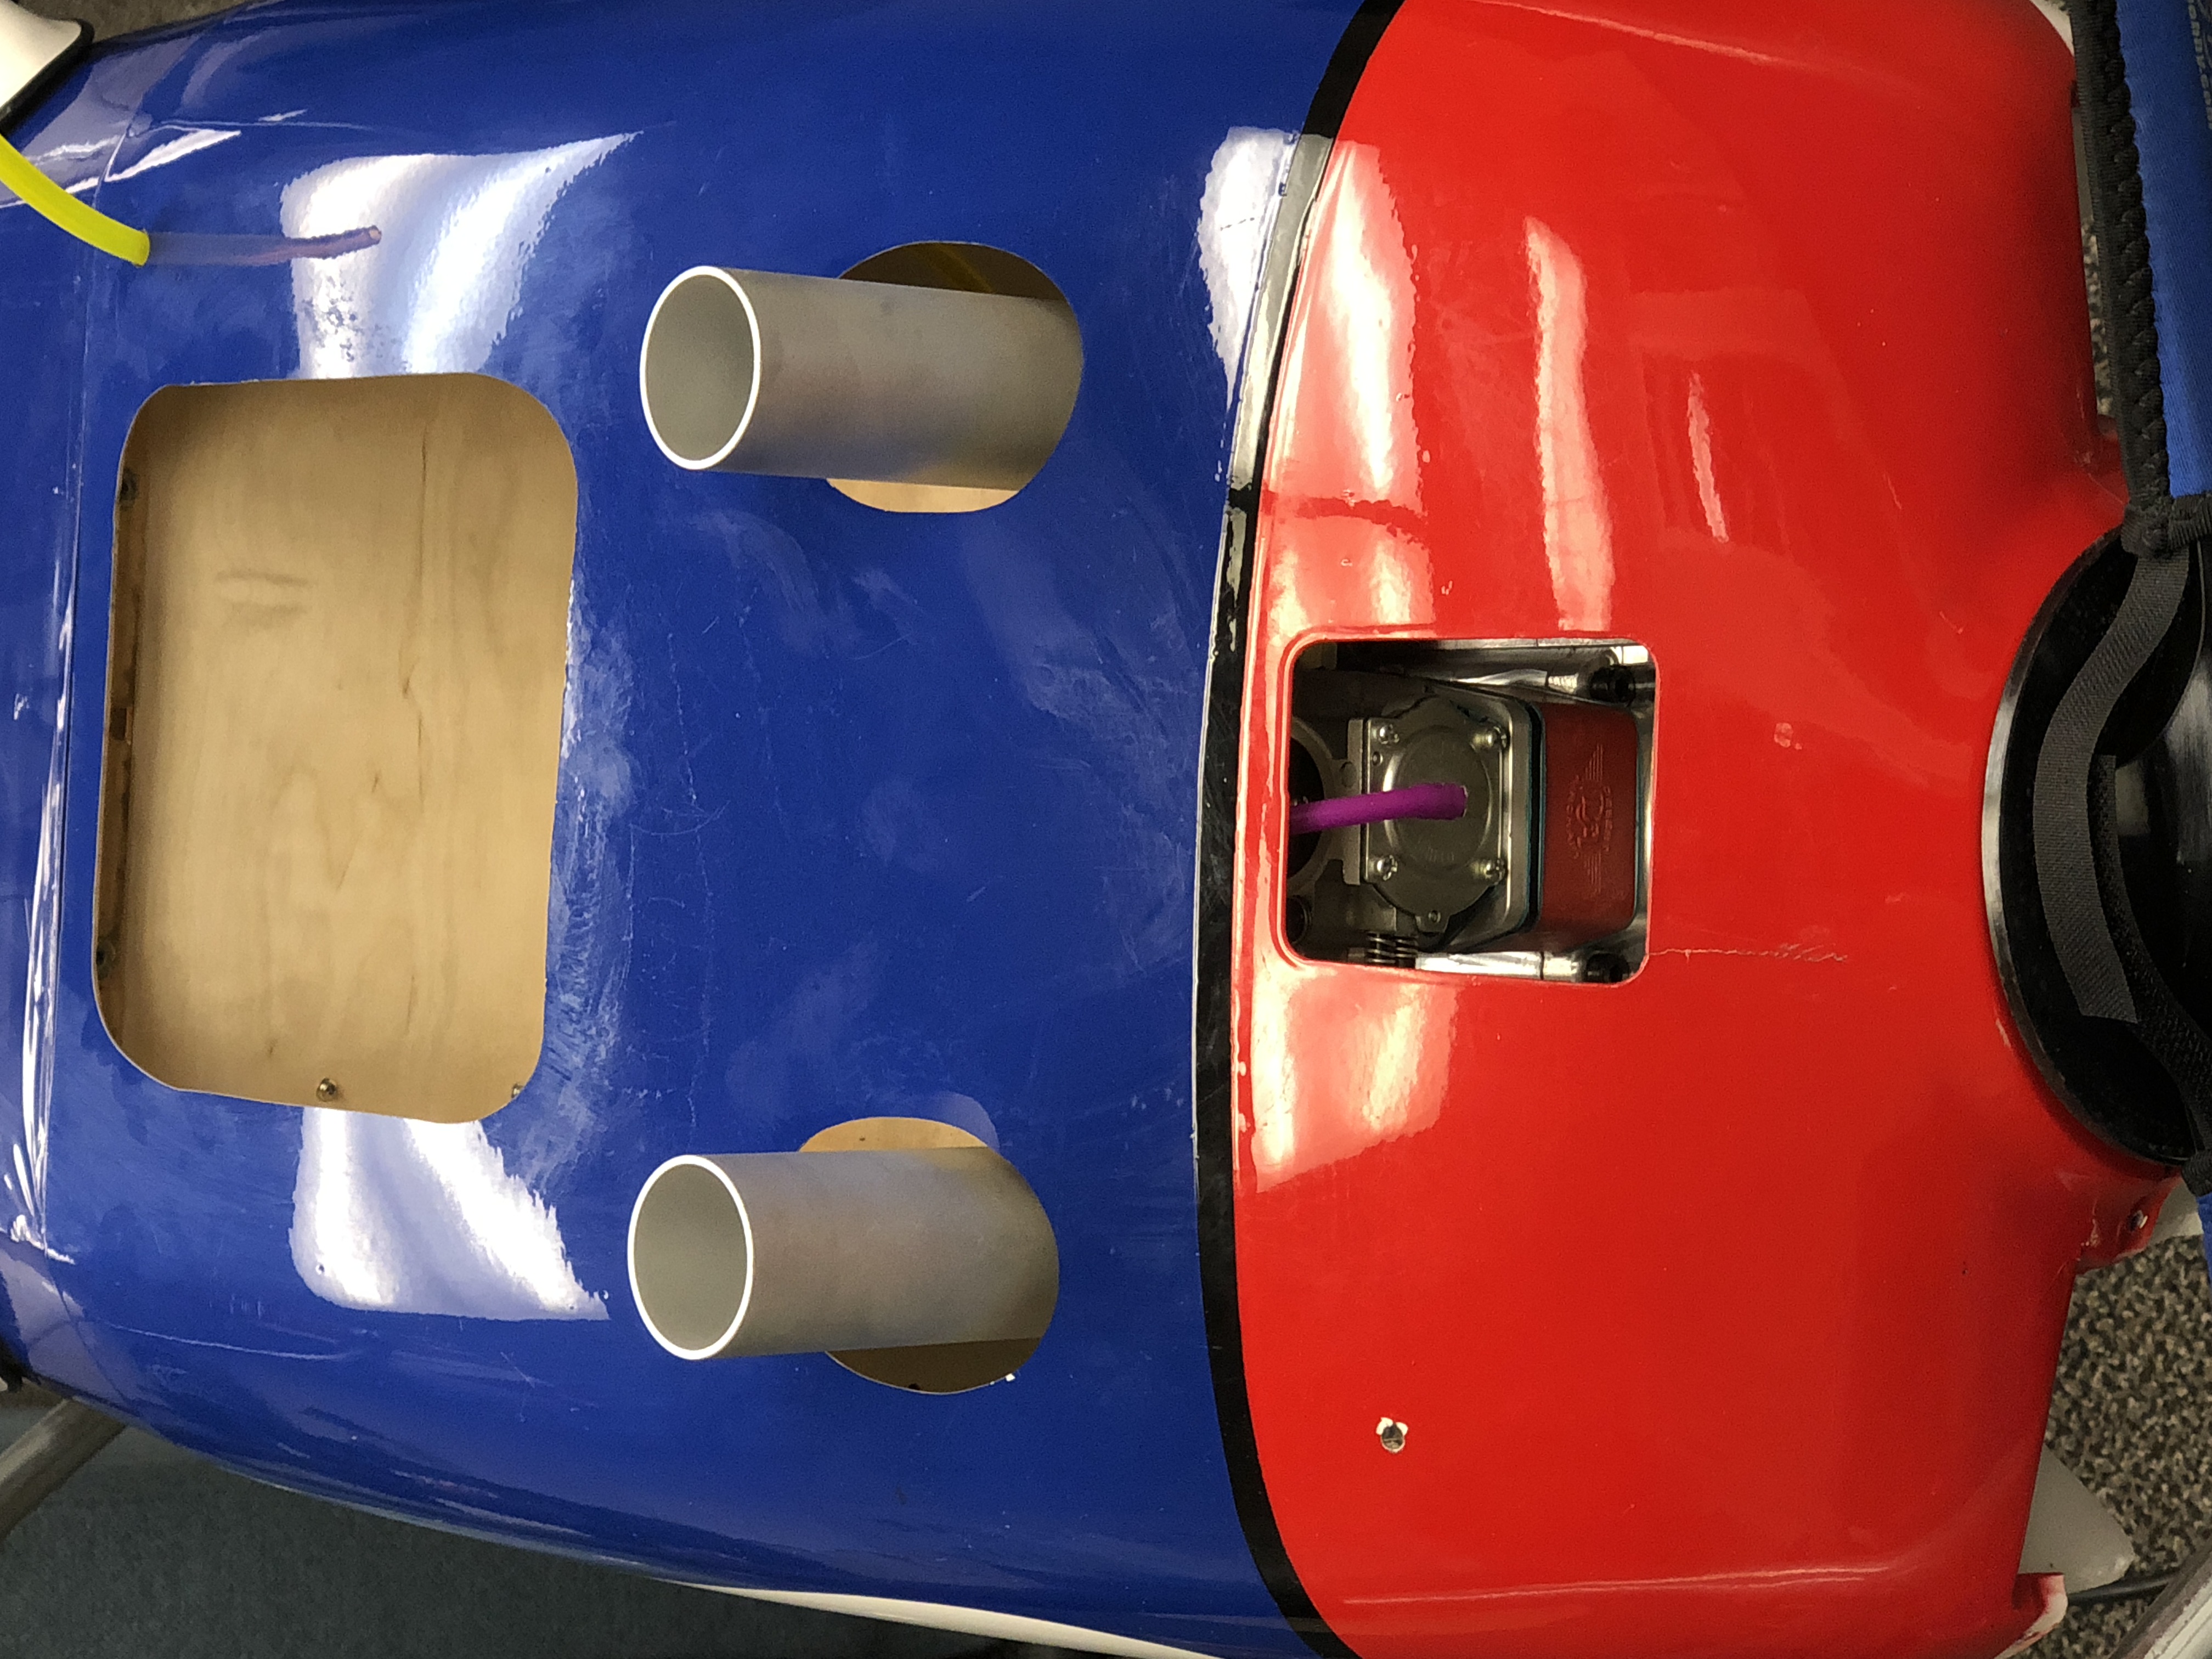
Repainting the cowl is not something I am a big fan of. If the paint on it is good and I can figure out a way to integrate the current paint job into the new scheme, that is by far the most efficient way to proceed. Depending on the quality of the current covering you may have the opportunity to use the base layer as well.
This saves on time and expense. In this case the cowl is red, white and blue and that provided me with a good base for a new scheme.
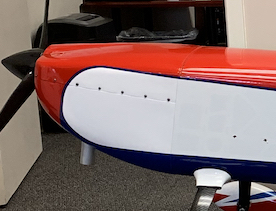
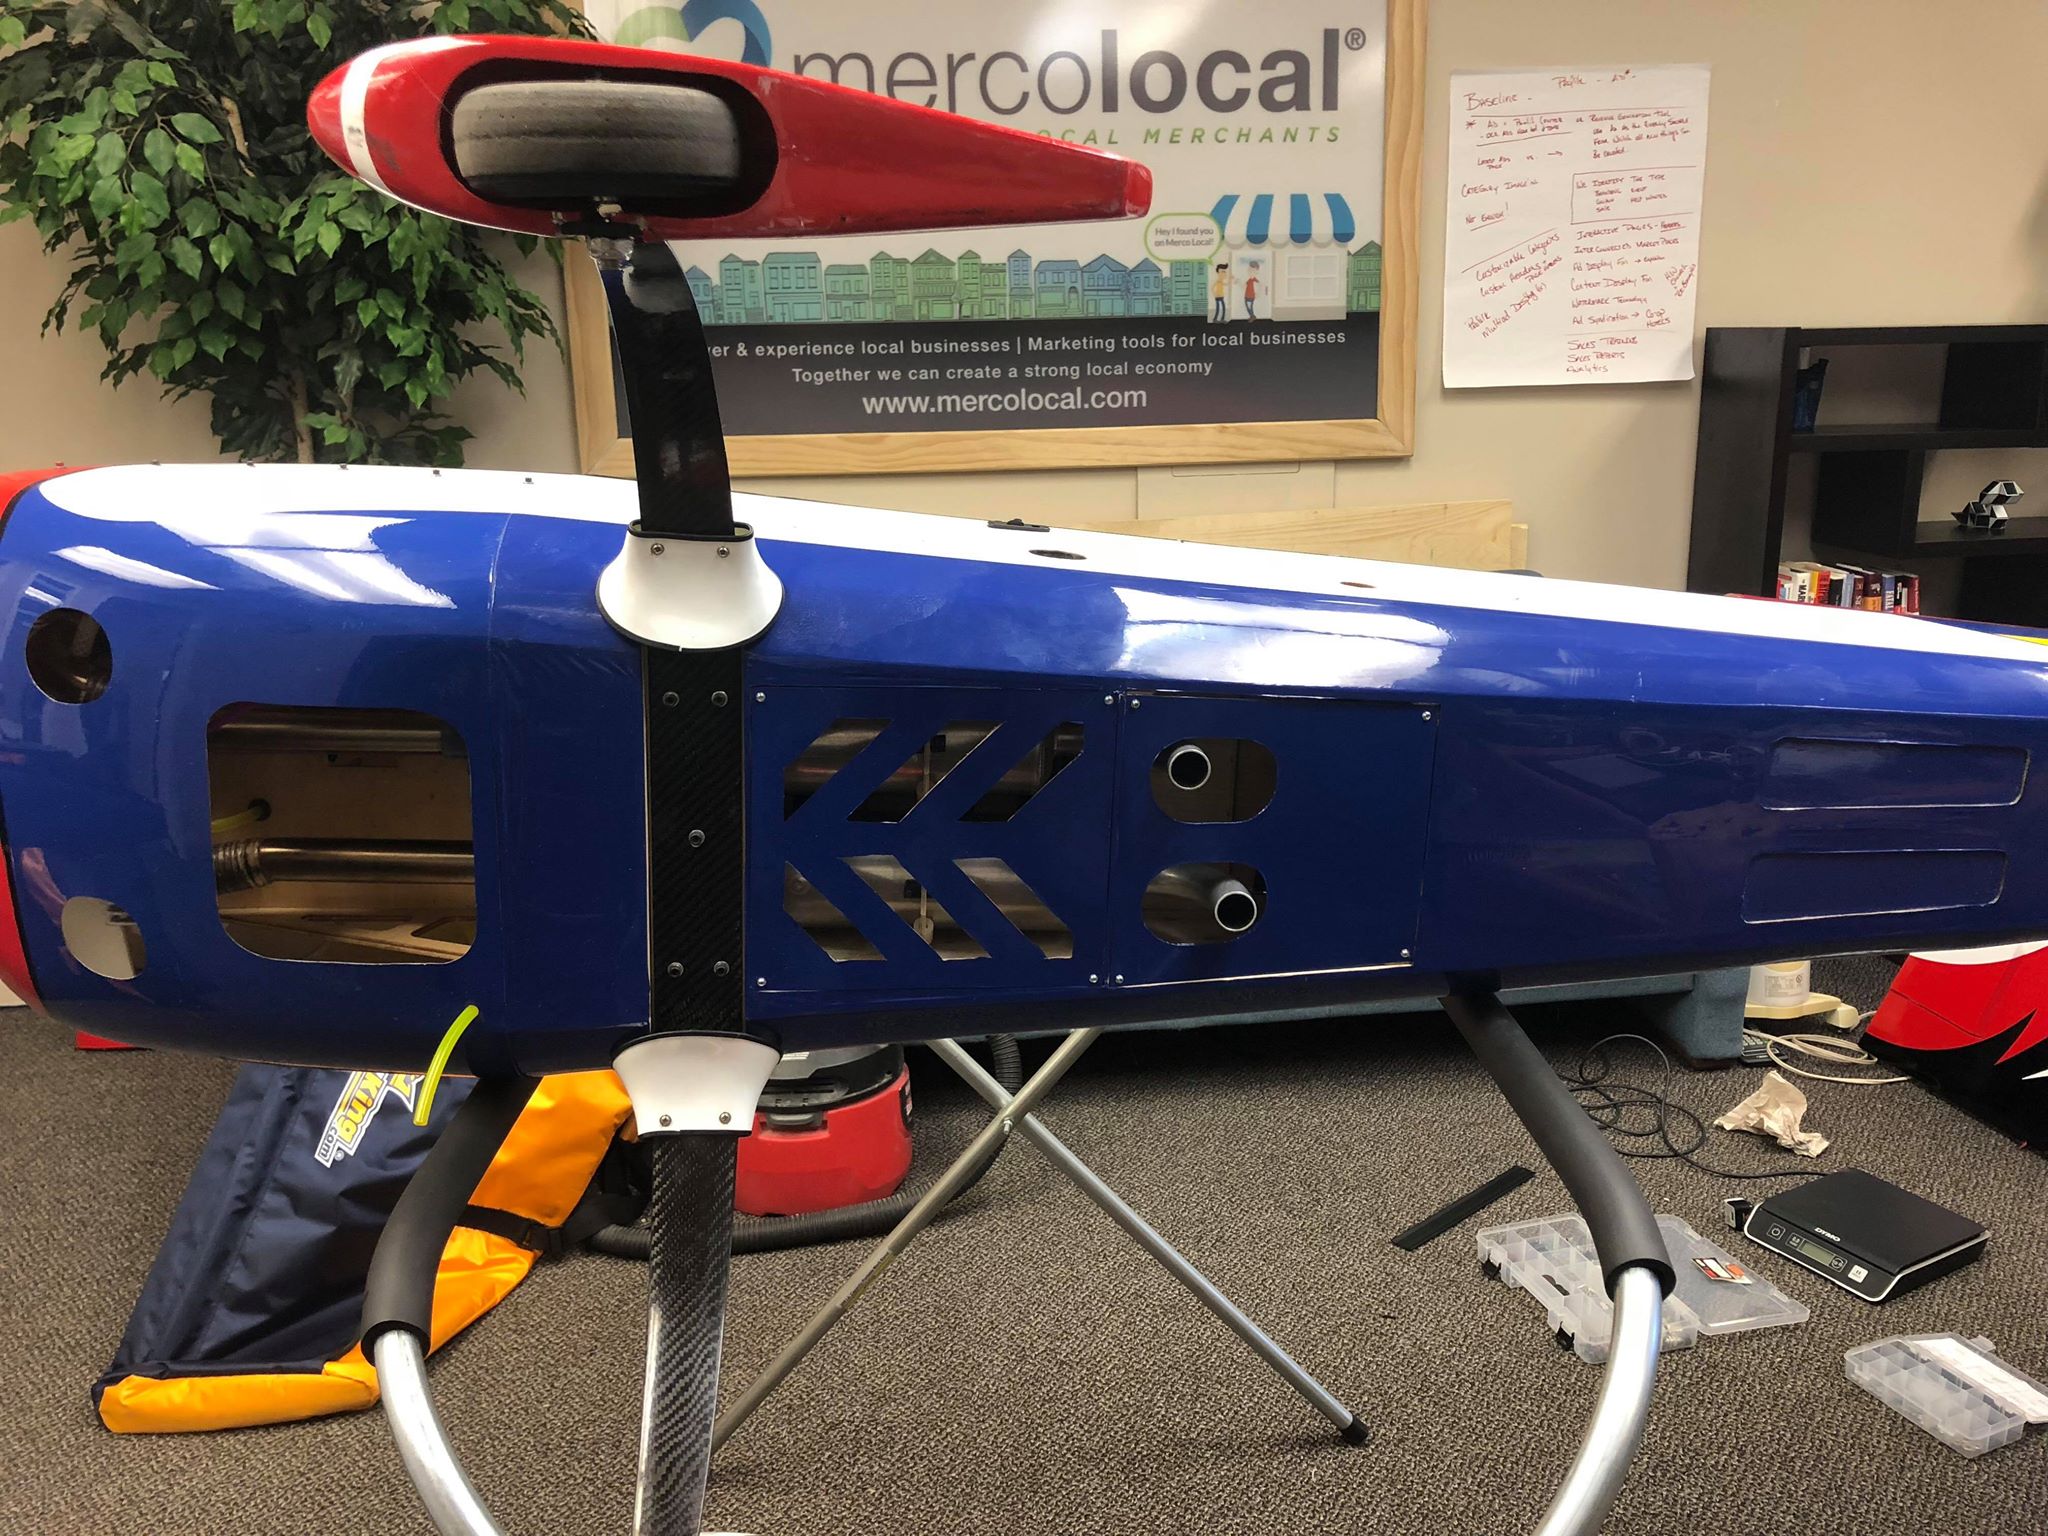
Fuse and wings
 The top of the fuselage was solid red, the sides white, and the belly of the plane was blue.
The blue, yellow and red strips on the fuselage are placed over the base white on the fuselage and were removed by using an iron set at 225-230 degrees Fahrenheit. When the iron is at this temperature it will heat up the adhesive layer of the covering allowing it to release. Heat an area, then slowly work from a corner of the area you are removing to the other side of the layer. Continually heat the covering ahead of the material you are pulling off.
UH OH A Problem!
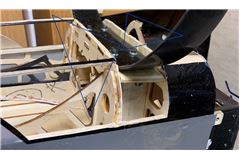
As I worked through removing the unwanted scheme I found that the blue, yellow, and red strips were laid directly on the wood of the wings. This meant that there was a large square that was uncovered on the wings. The best solution at this point was to completely remove the cover off each wing. Using the same process I heated the cover to 225-230 and pulled it back away from the wood sheeting. The bottom of each wing looked good with large blue/white rectangles and the cover was undamaged and worth saving. So with care I removed the top covering from the leading edge to the trailing edge of each wing, then covered them again in all white.
The next steps were to lay out the new scheme. I use apple pages to do this, I've found that it is the easiest program for me to use.
GETTING STARTED
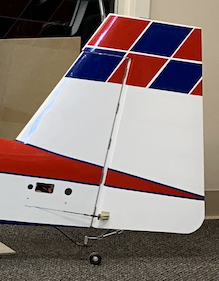
After I have the plane stripped down to the base layers, I like to start with a small area to test the scheme I am designing. In this case the best place to figure things out was the top of the rudder. What I have done here is cut the red into rhombuses that are equal in size. Then laid them down with a 1/4 gap between all sides to allow the white to create a bold line between them.
STACKING LAYERS of COVER TIPS
There are several ways to layer covering, here are two ways that I do it. As a general rule, I prefer to work with Ultracote for giant scale plane, I find it to be a bit thicker material and easier to manipulate when I am making cuts. Regardless of the material you use to cover, I highly recommend doing all of your cutting on a glass table and continually use new blades; doing this will provide you with clean cut lines that are not frayed from the blade dragging on the cover while it is being cut.
If you have plenty of room in your project timeline you can spray a light layer of Glass Plus down prior to laying down the second layer of covering. Then squeegee the liquid out and allow it to dry overnight. Then using an iron heated to 215 degrees you can slowly and methodically heat the cover layer to activate the adhesive. As long as the liquid layer has completely dried out the low heat will seal the second layer down without bubbling. If this process is rushed and there is still a moisture layer, you will see bubbling under the top layer taking away from the quality of your final work. These bubble can be pierced and the cover ironed down, if you do this, use the finest tip needle you have to prevent the pierced area from separating when heated later in time.
For me, I find that I just don't have the patients to wait out the dehydration process. When I have everything set-up and ready, I like to just get the work done. I use a fine needle to penetrate the bottom layer of covering repeatedly to allow the gasses created by heating the adhesive to escape into the wood.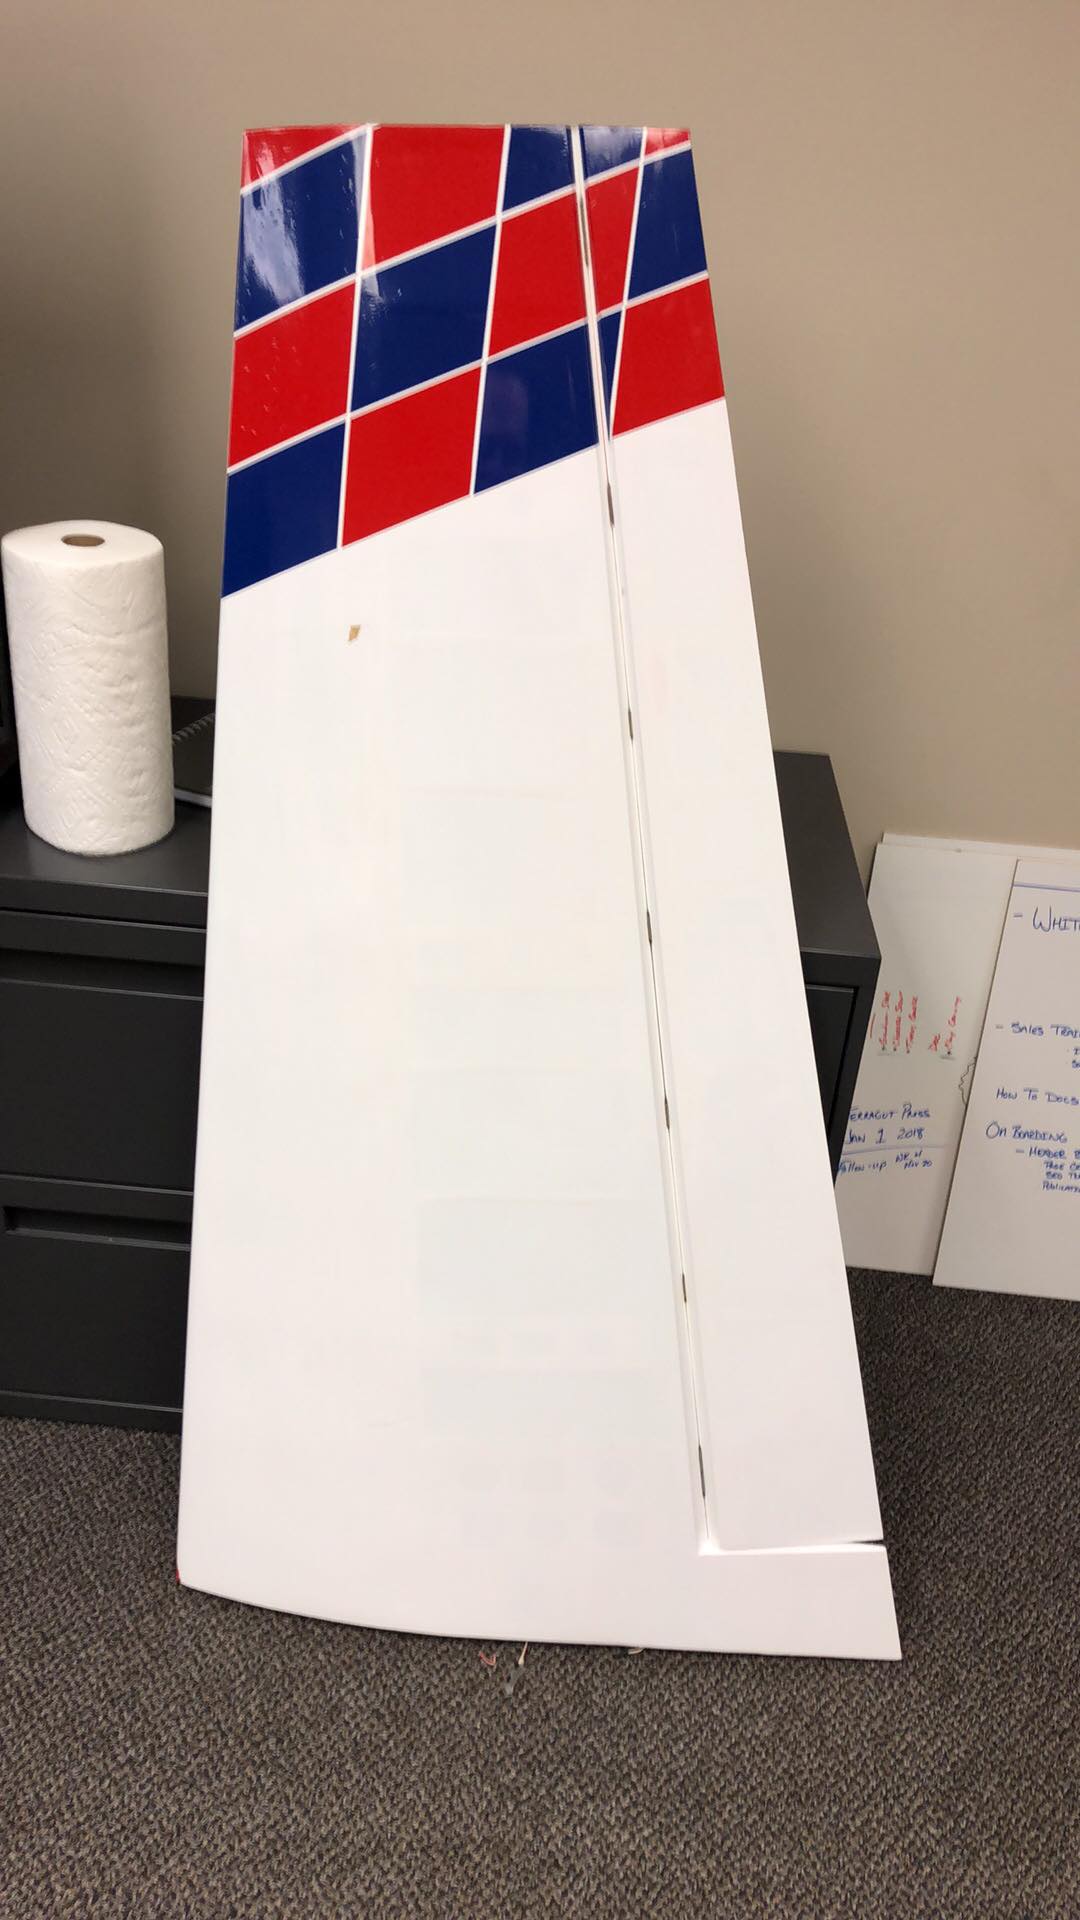
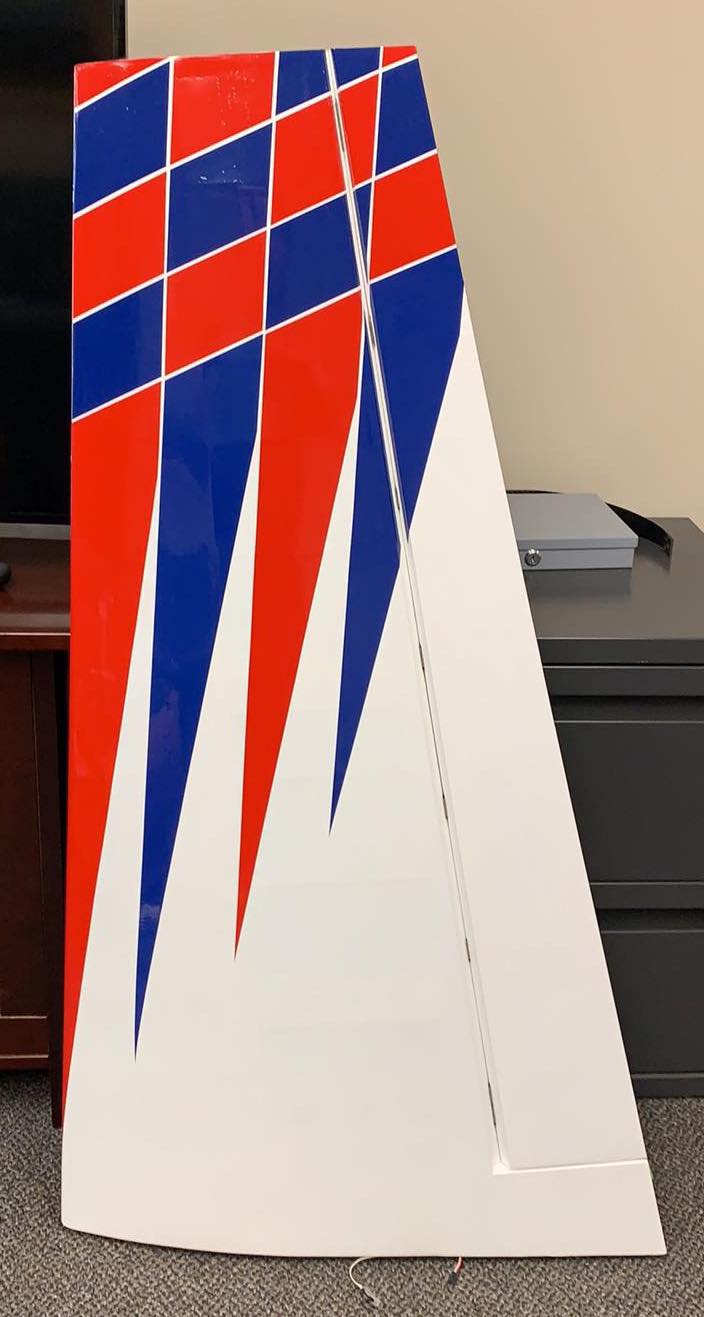
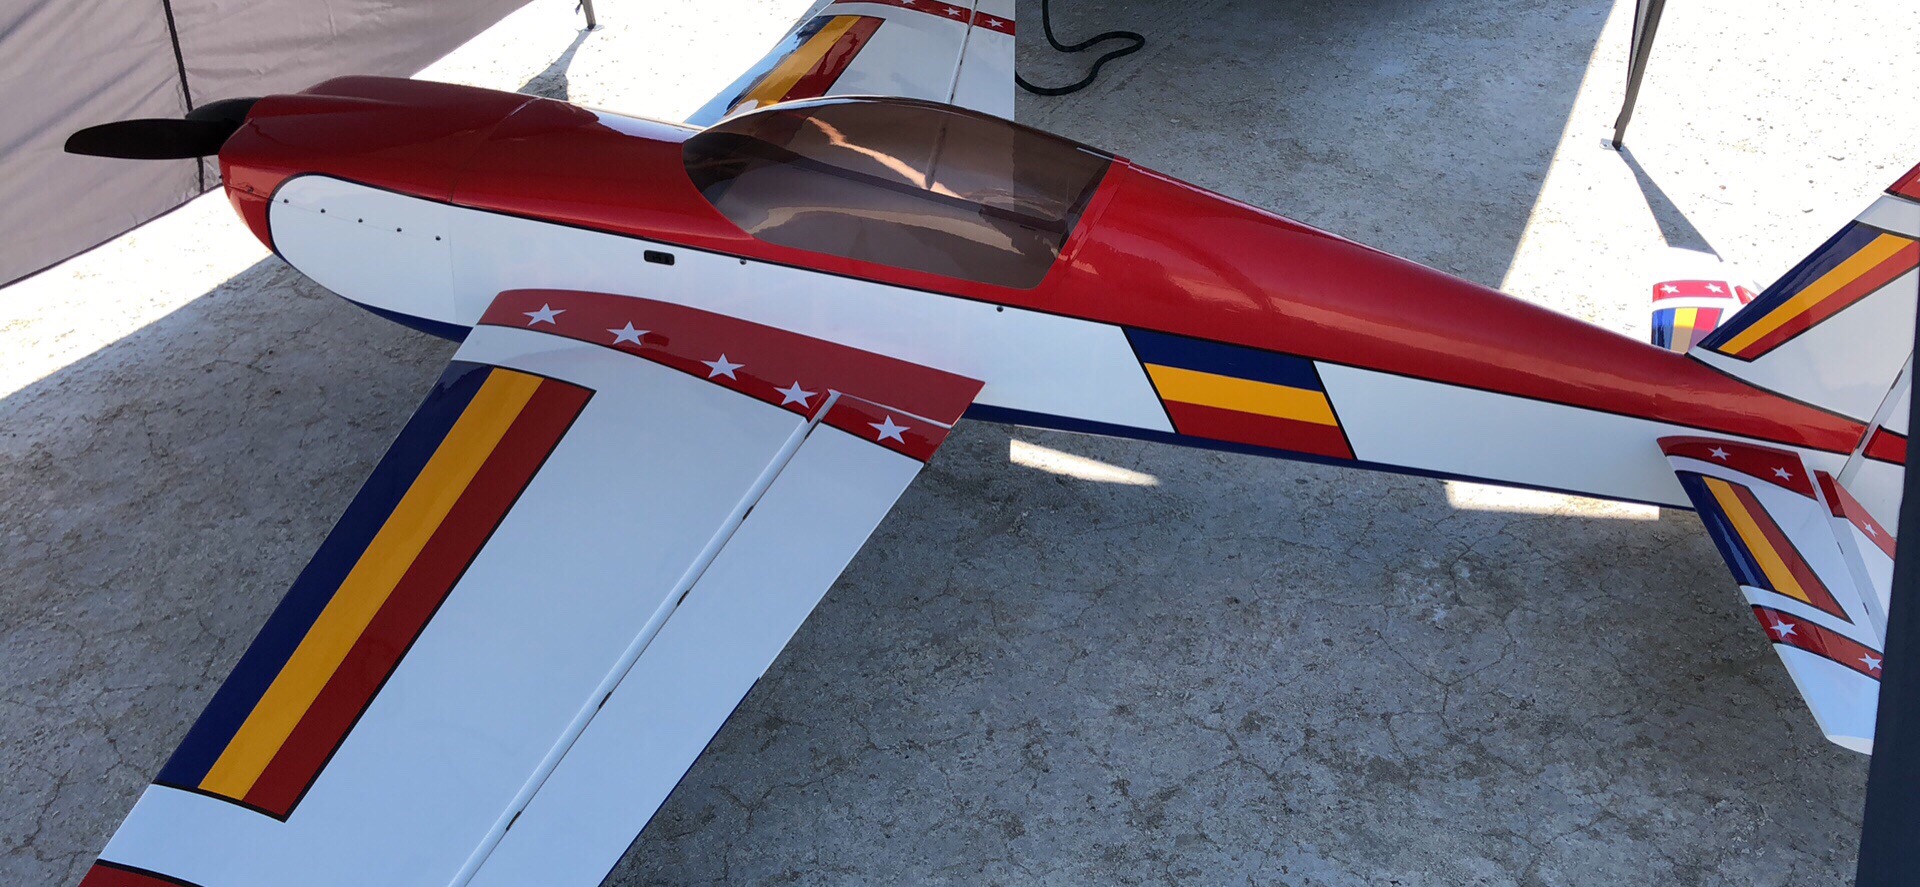
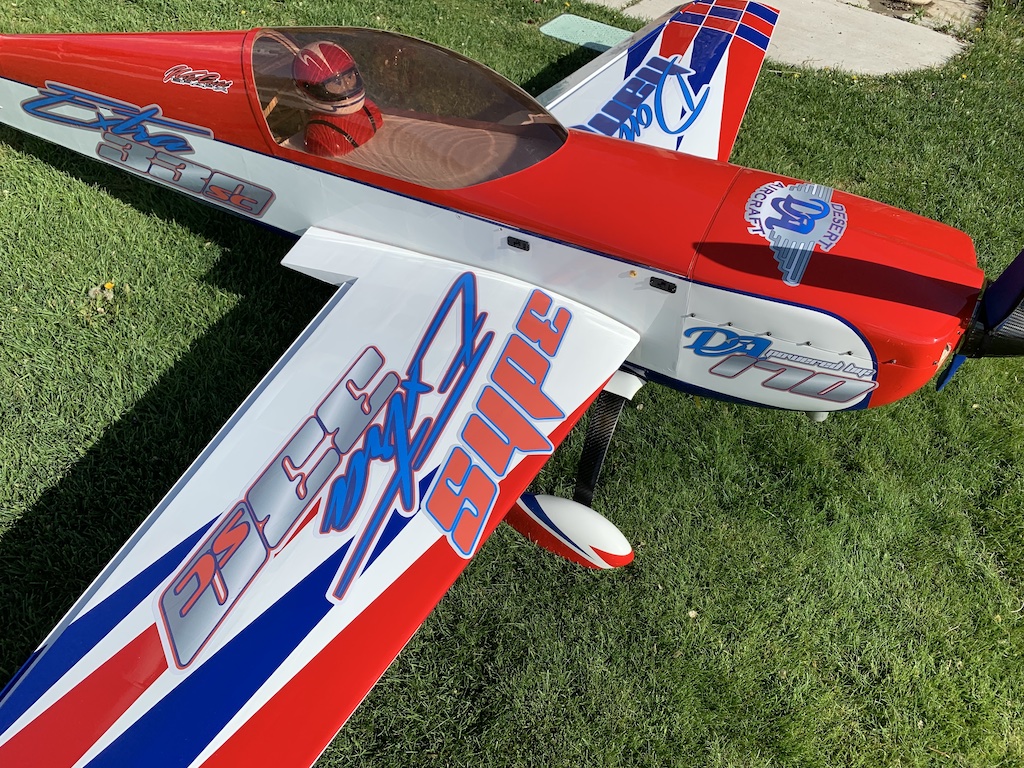
Once I have the checkerboard pattern completed on all of the flying surfaces, I add the graphic stripes to both wings using the same application process. And then the moment of truth comes when the plane is assembled to see how it looks together.
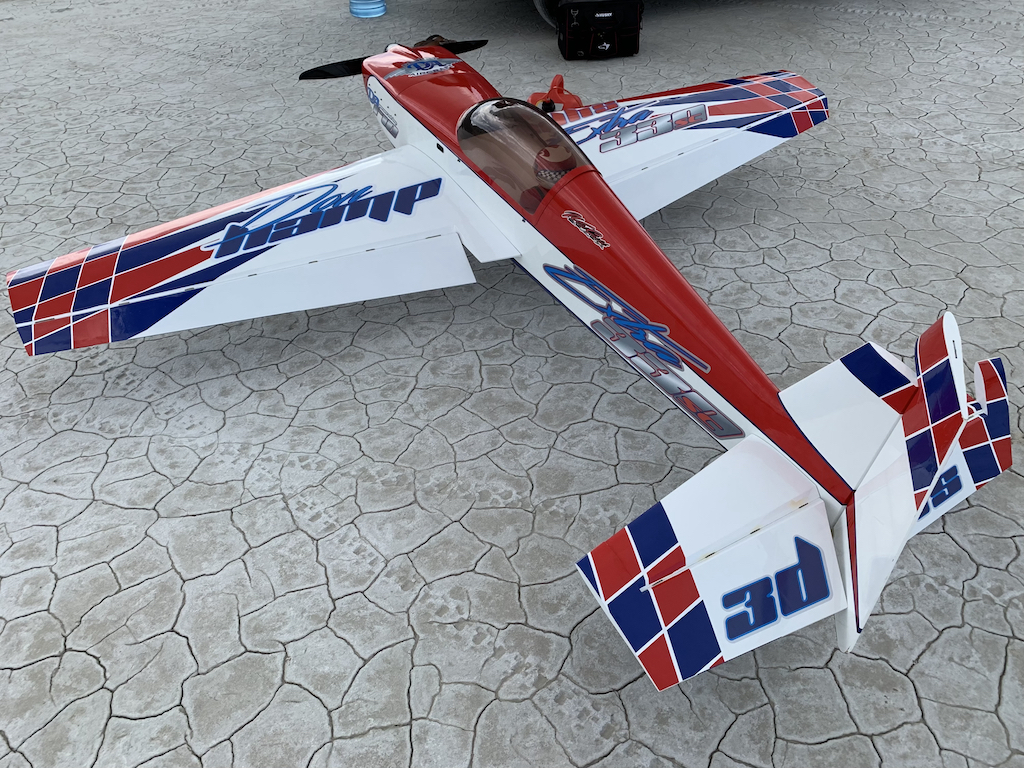
Once the plane was covered I could have left it this way, flown it and been happy with it. It looked fantastic in the air and it was easy to see. I had never added a bunch of vinyls to a plane and I thought it might be cool to do a little something different. Chris Prince from Wild Child designed some vinyl graphics that really took the plane to another level.

_130420240639_com.jpeg)